Docs / Getting Started
Calendar View
The Calendar allows you to manage and view your sessions in different formats depending on how you prefer to plan your schedule.
To switch between views, use the view dropdown at the top of your Calendar page.
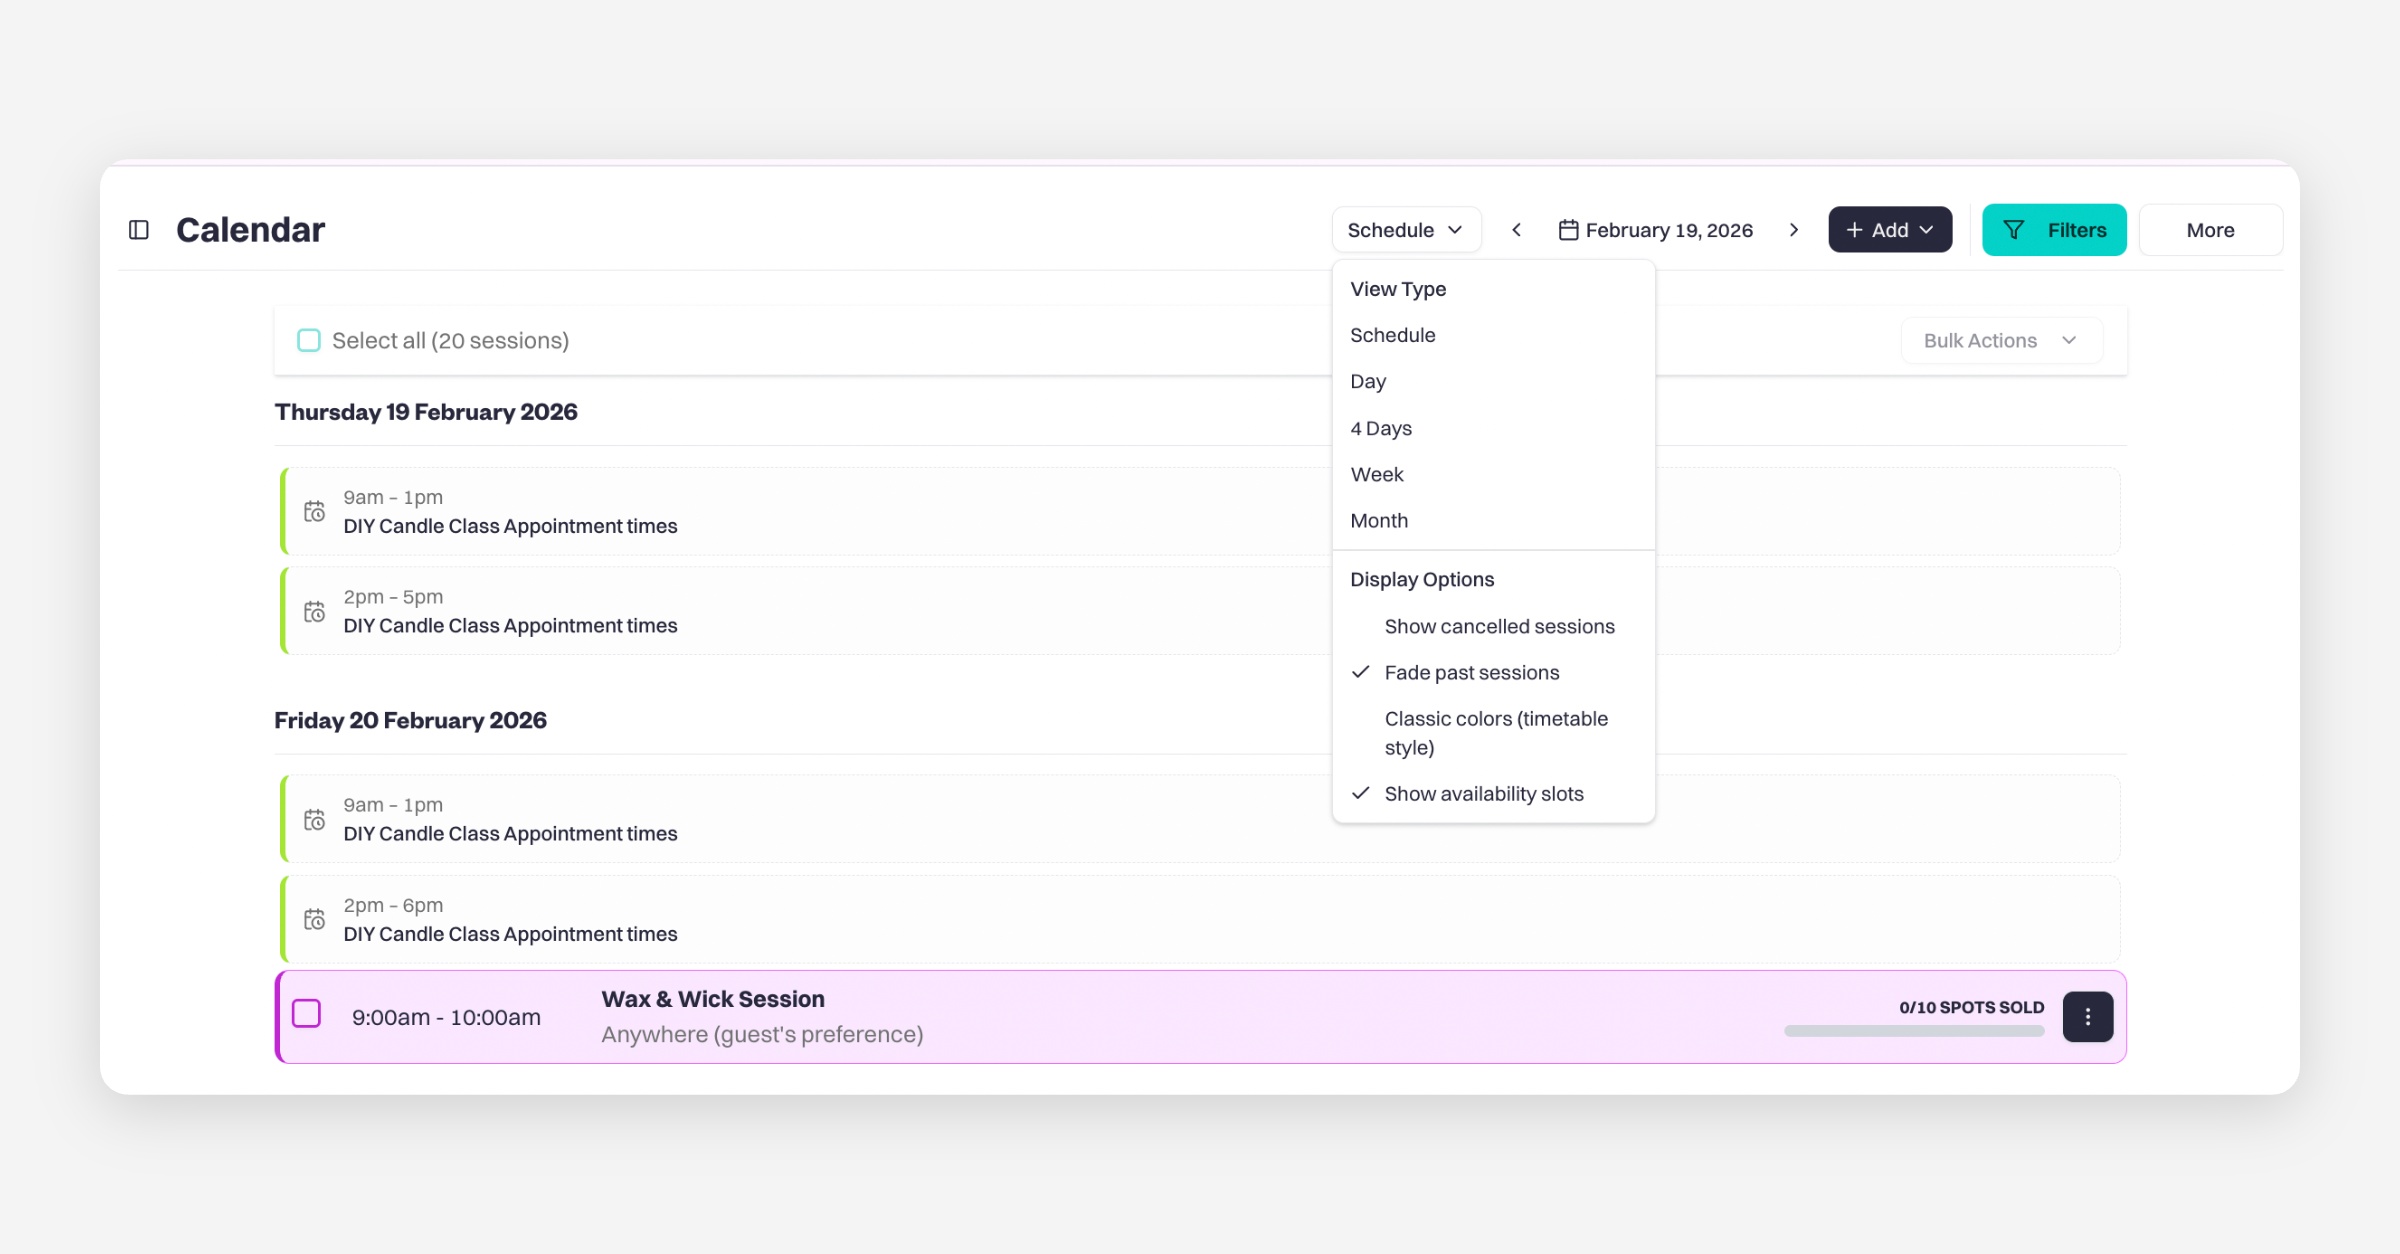
Baluu offers 5 different calendar views:
Schedule View (default view)
This view displays your sessions in a vertical list format, grouped by date.
Ideal for a structured, list-style overview.
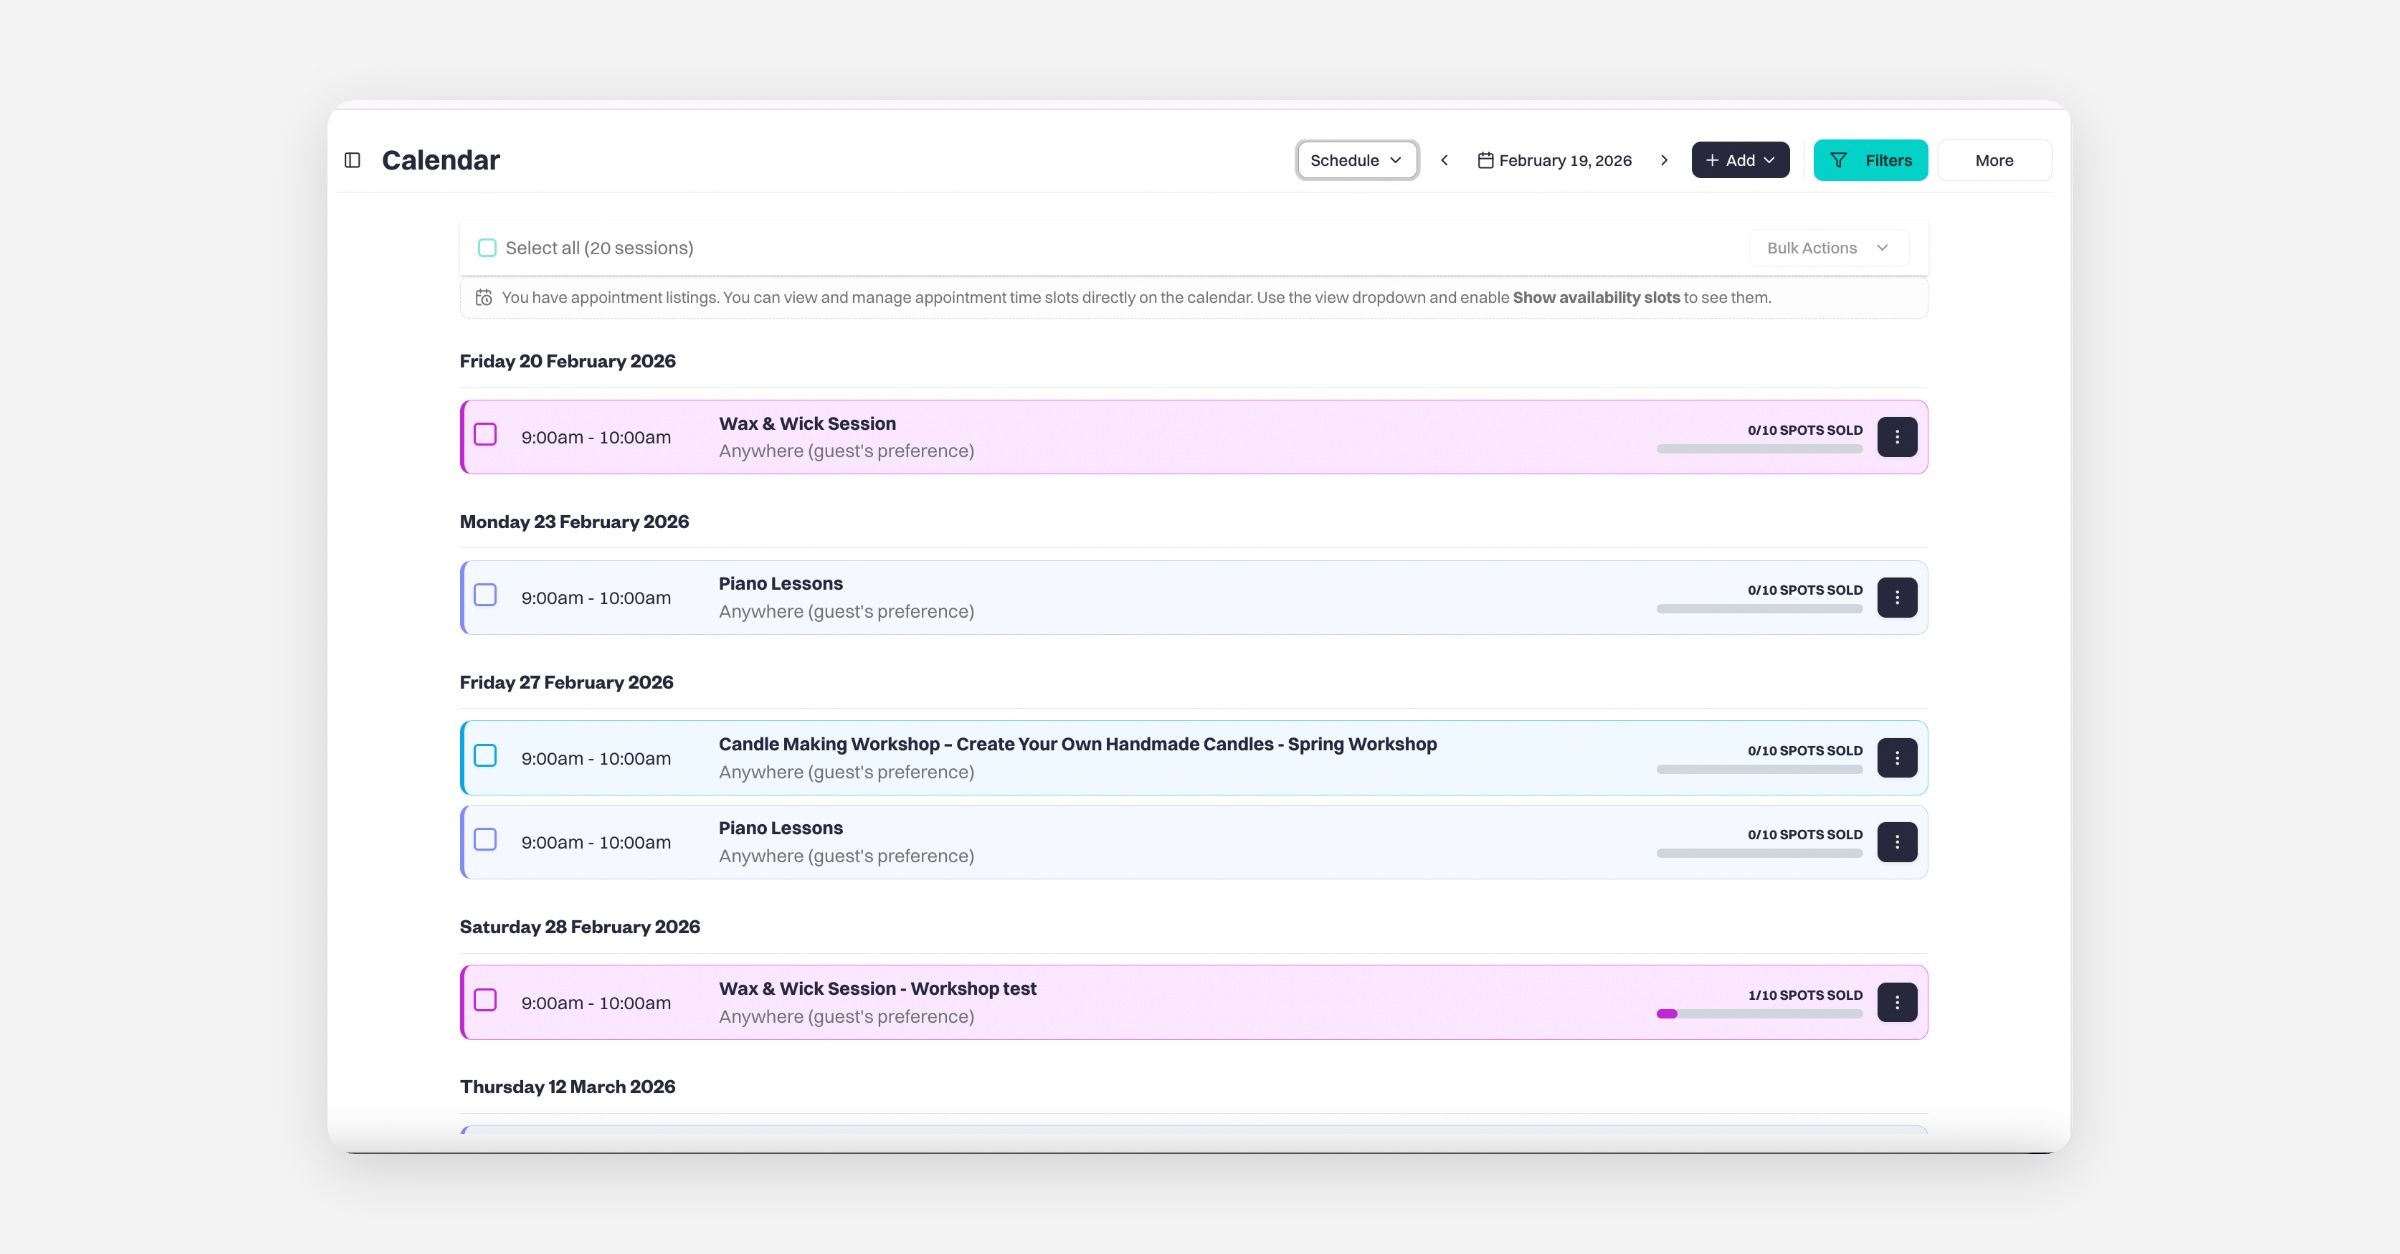
Ideal for a structured, list-style overview.
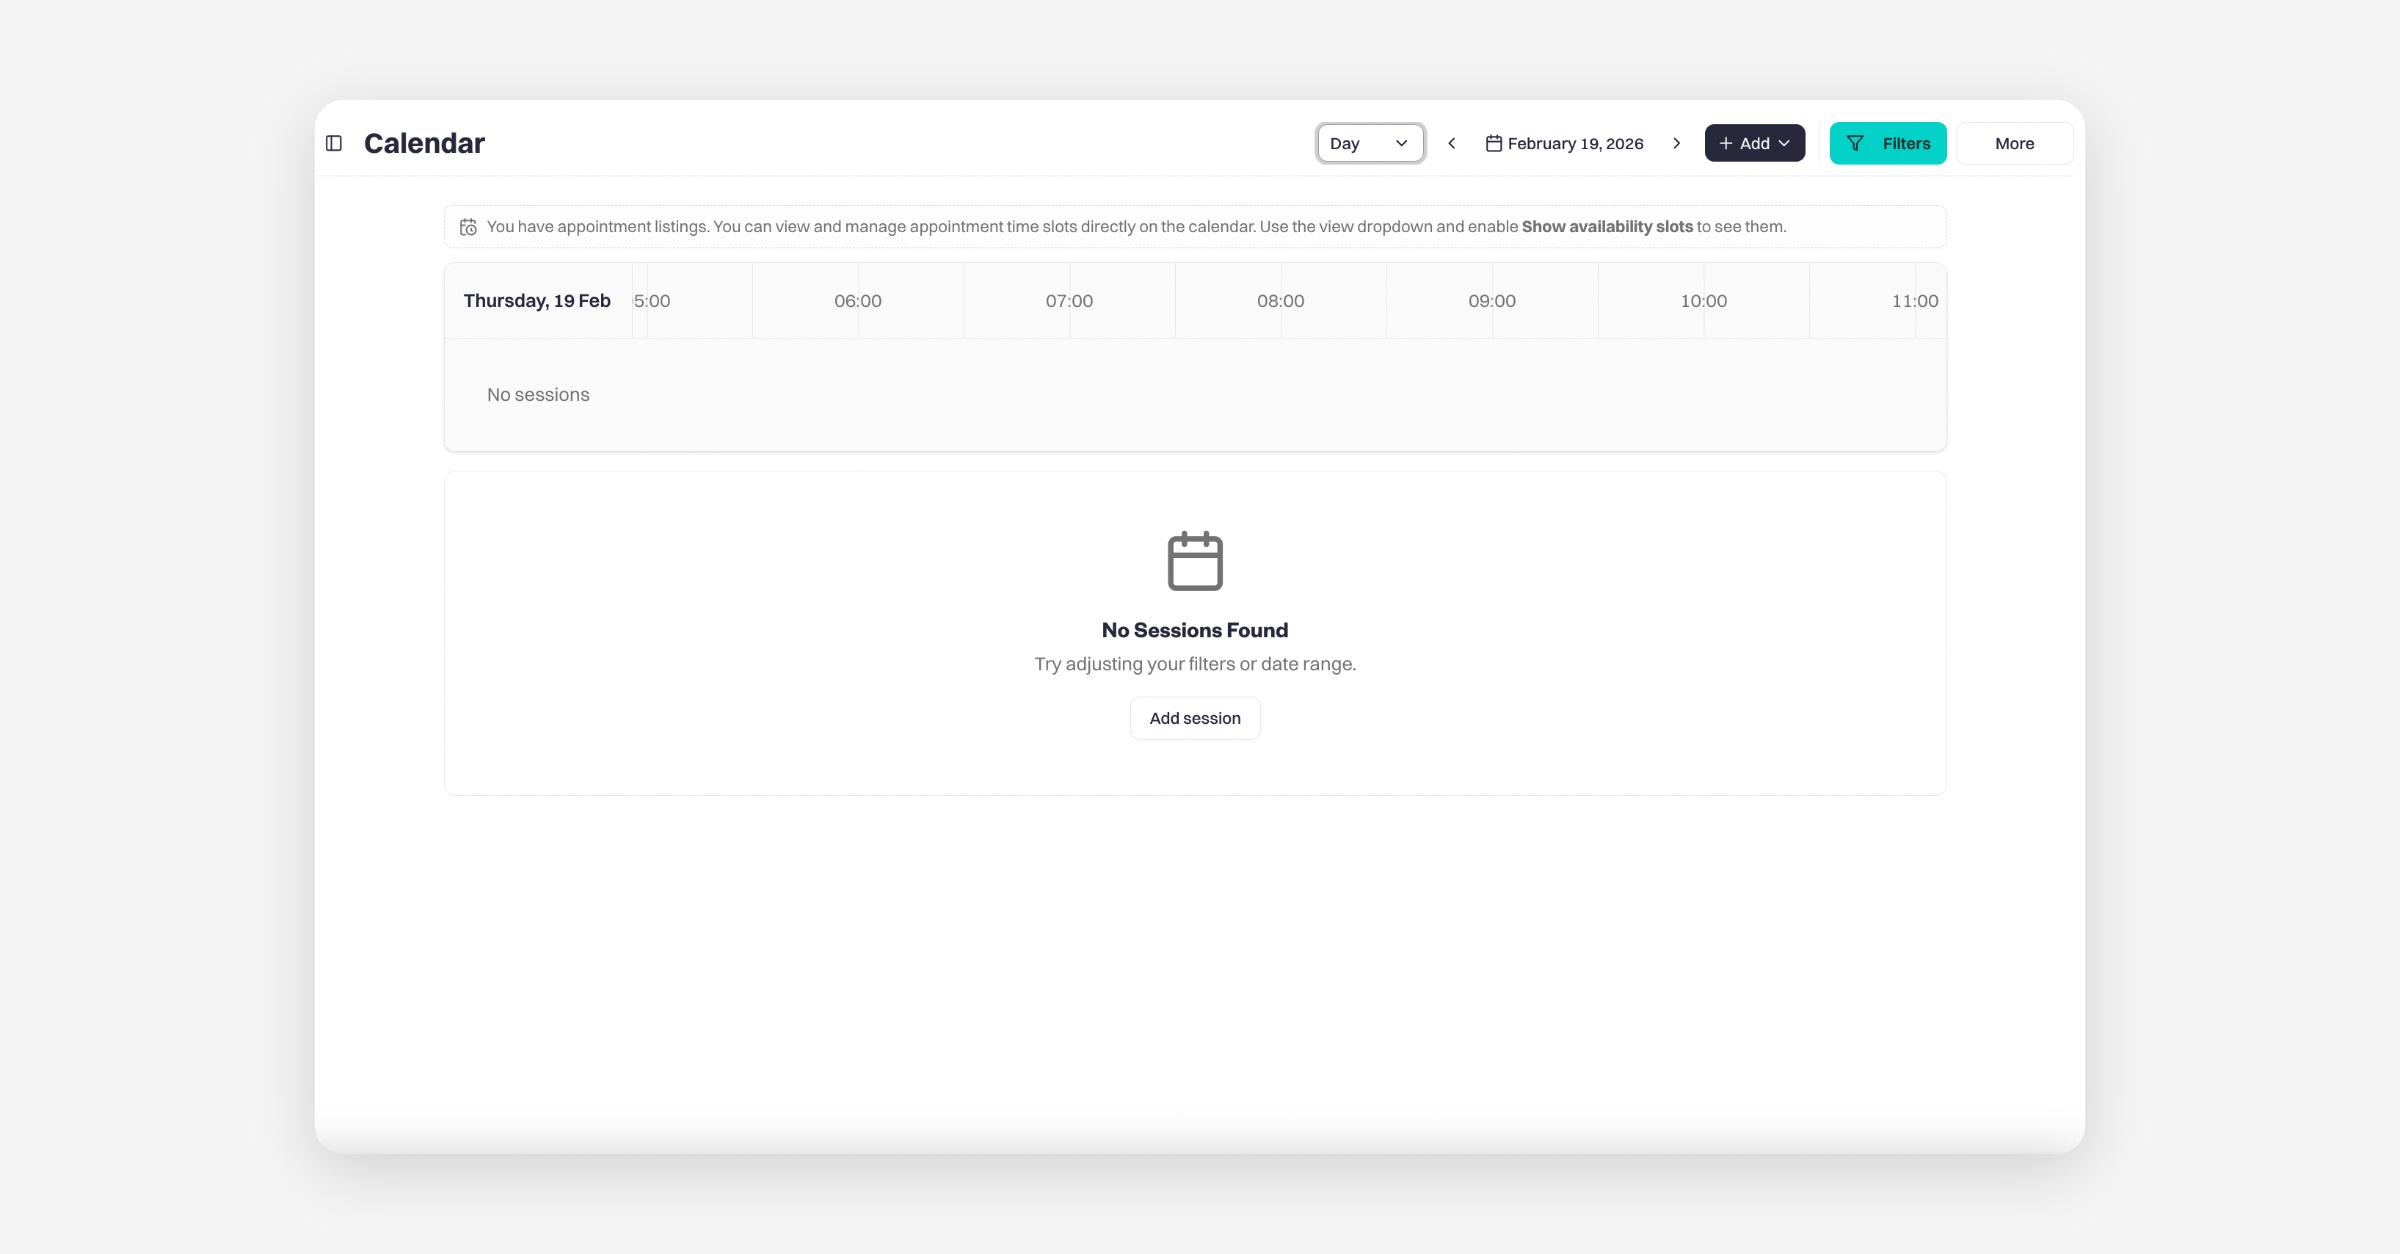
Day View
Day View shows a single day broken down into hourly time slots
4-Day View
This view shows four consecutive days side by side in a time-grid layout.
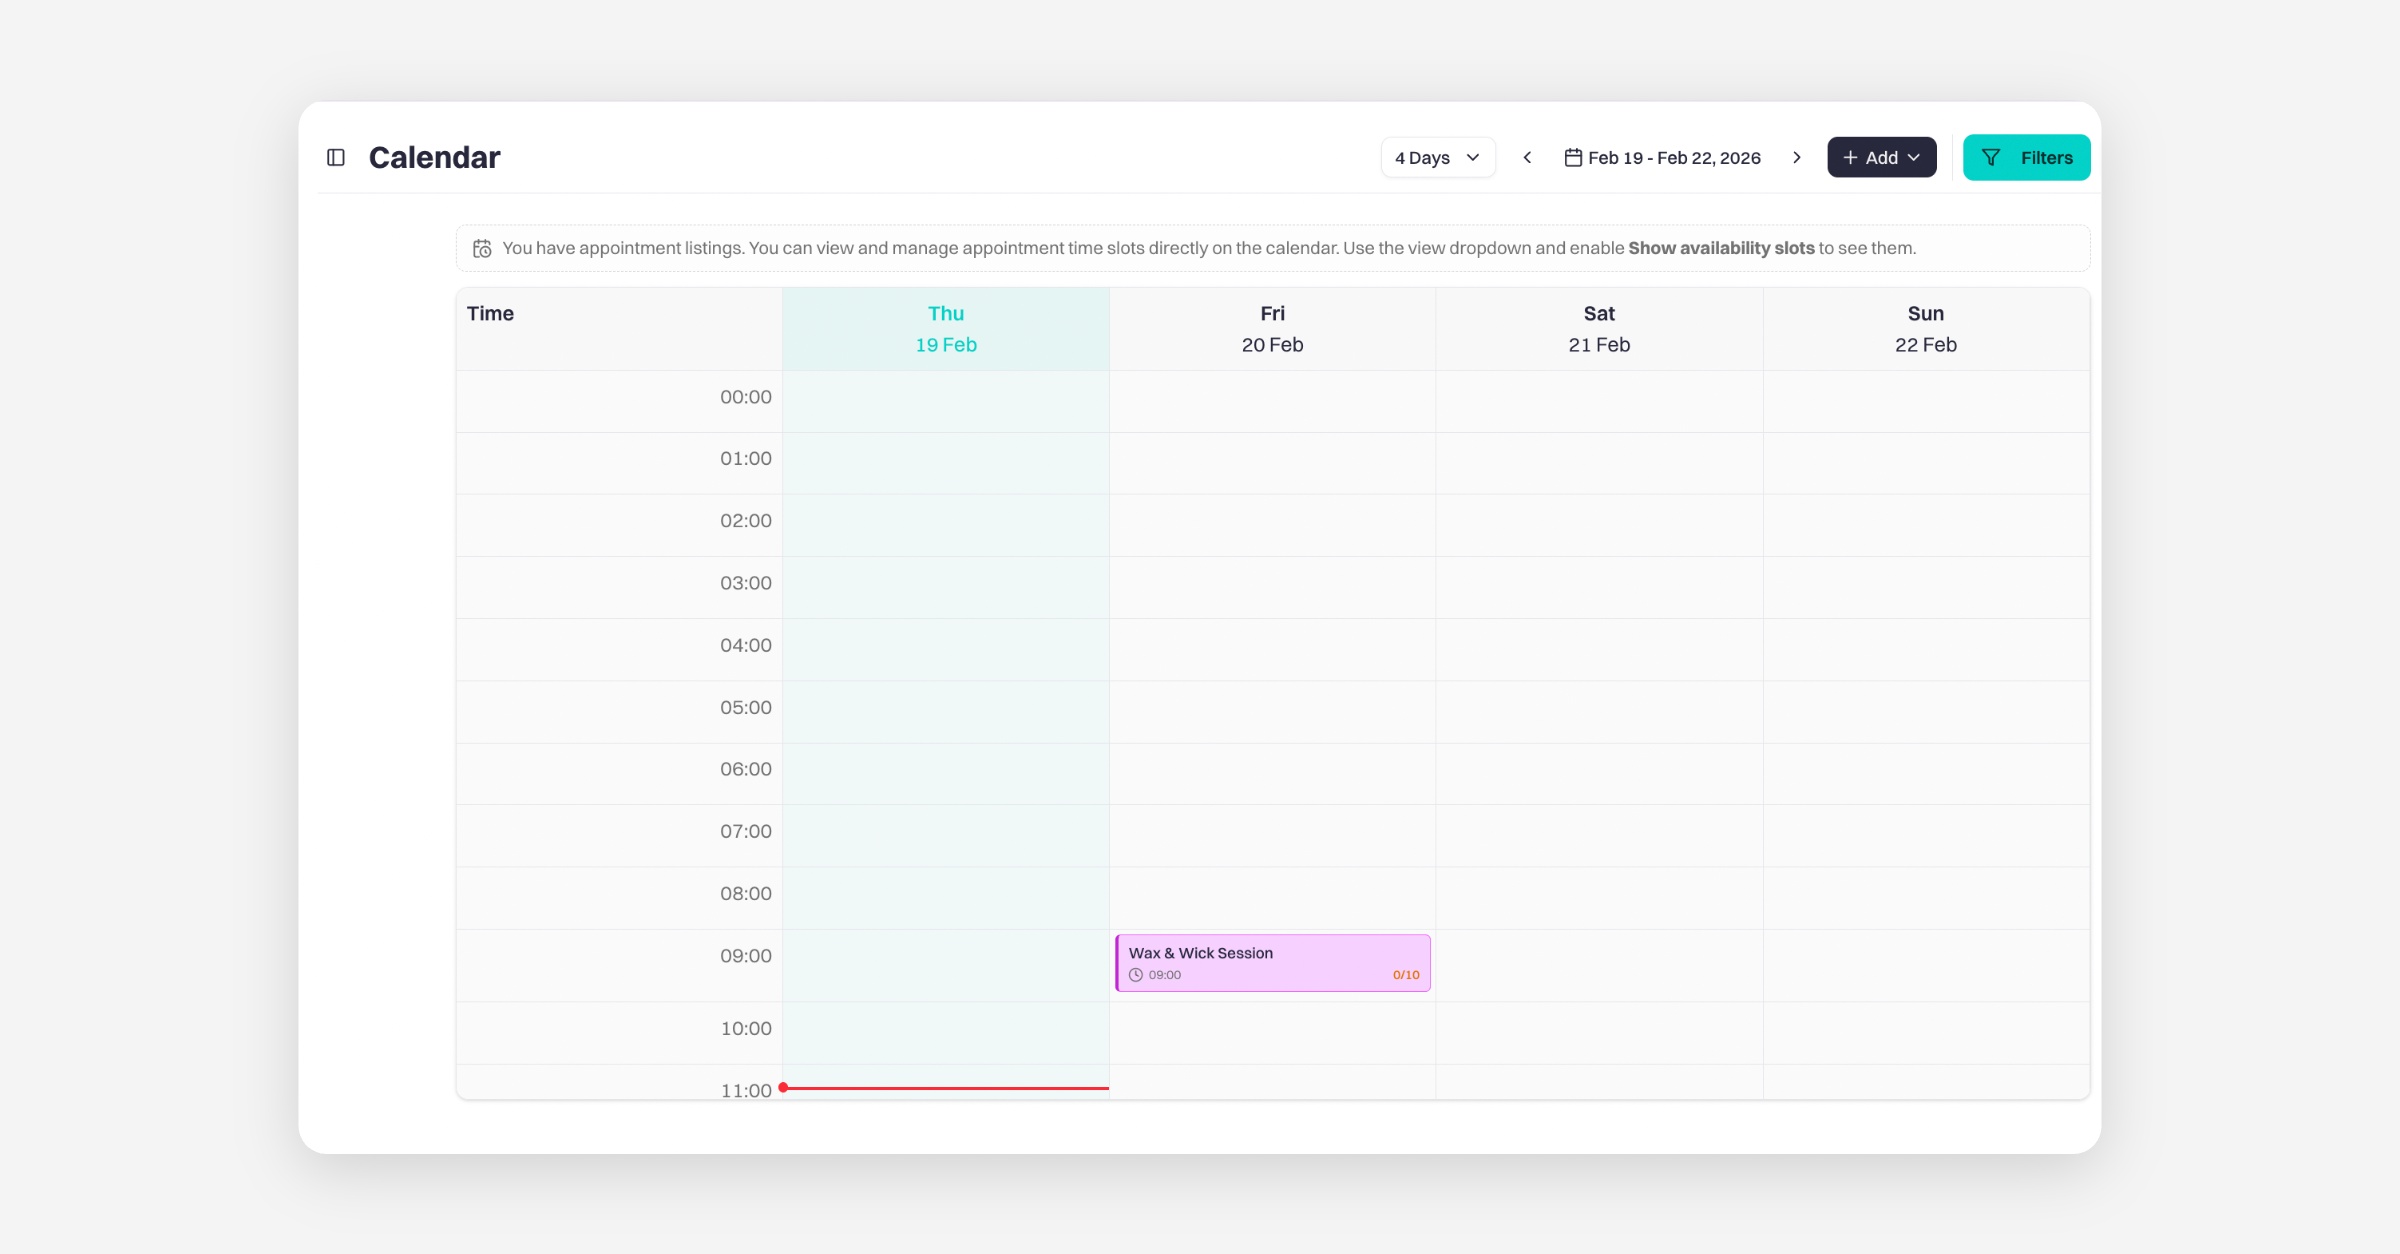
Great for short-term planning.
Week View
Week View displays your full week in a time-grid format.
You can:
See all sessions across seven days
Track fully booked sessions
Manage availability at a glance
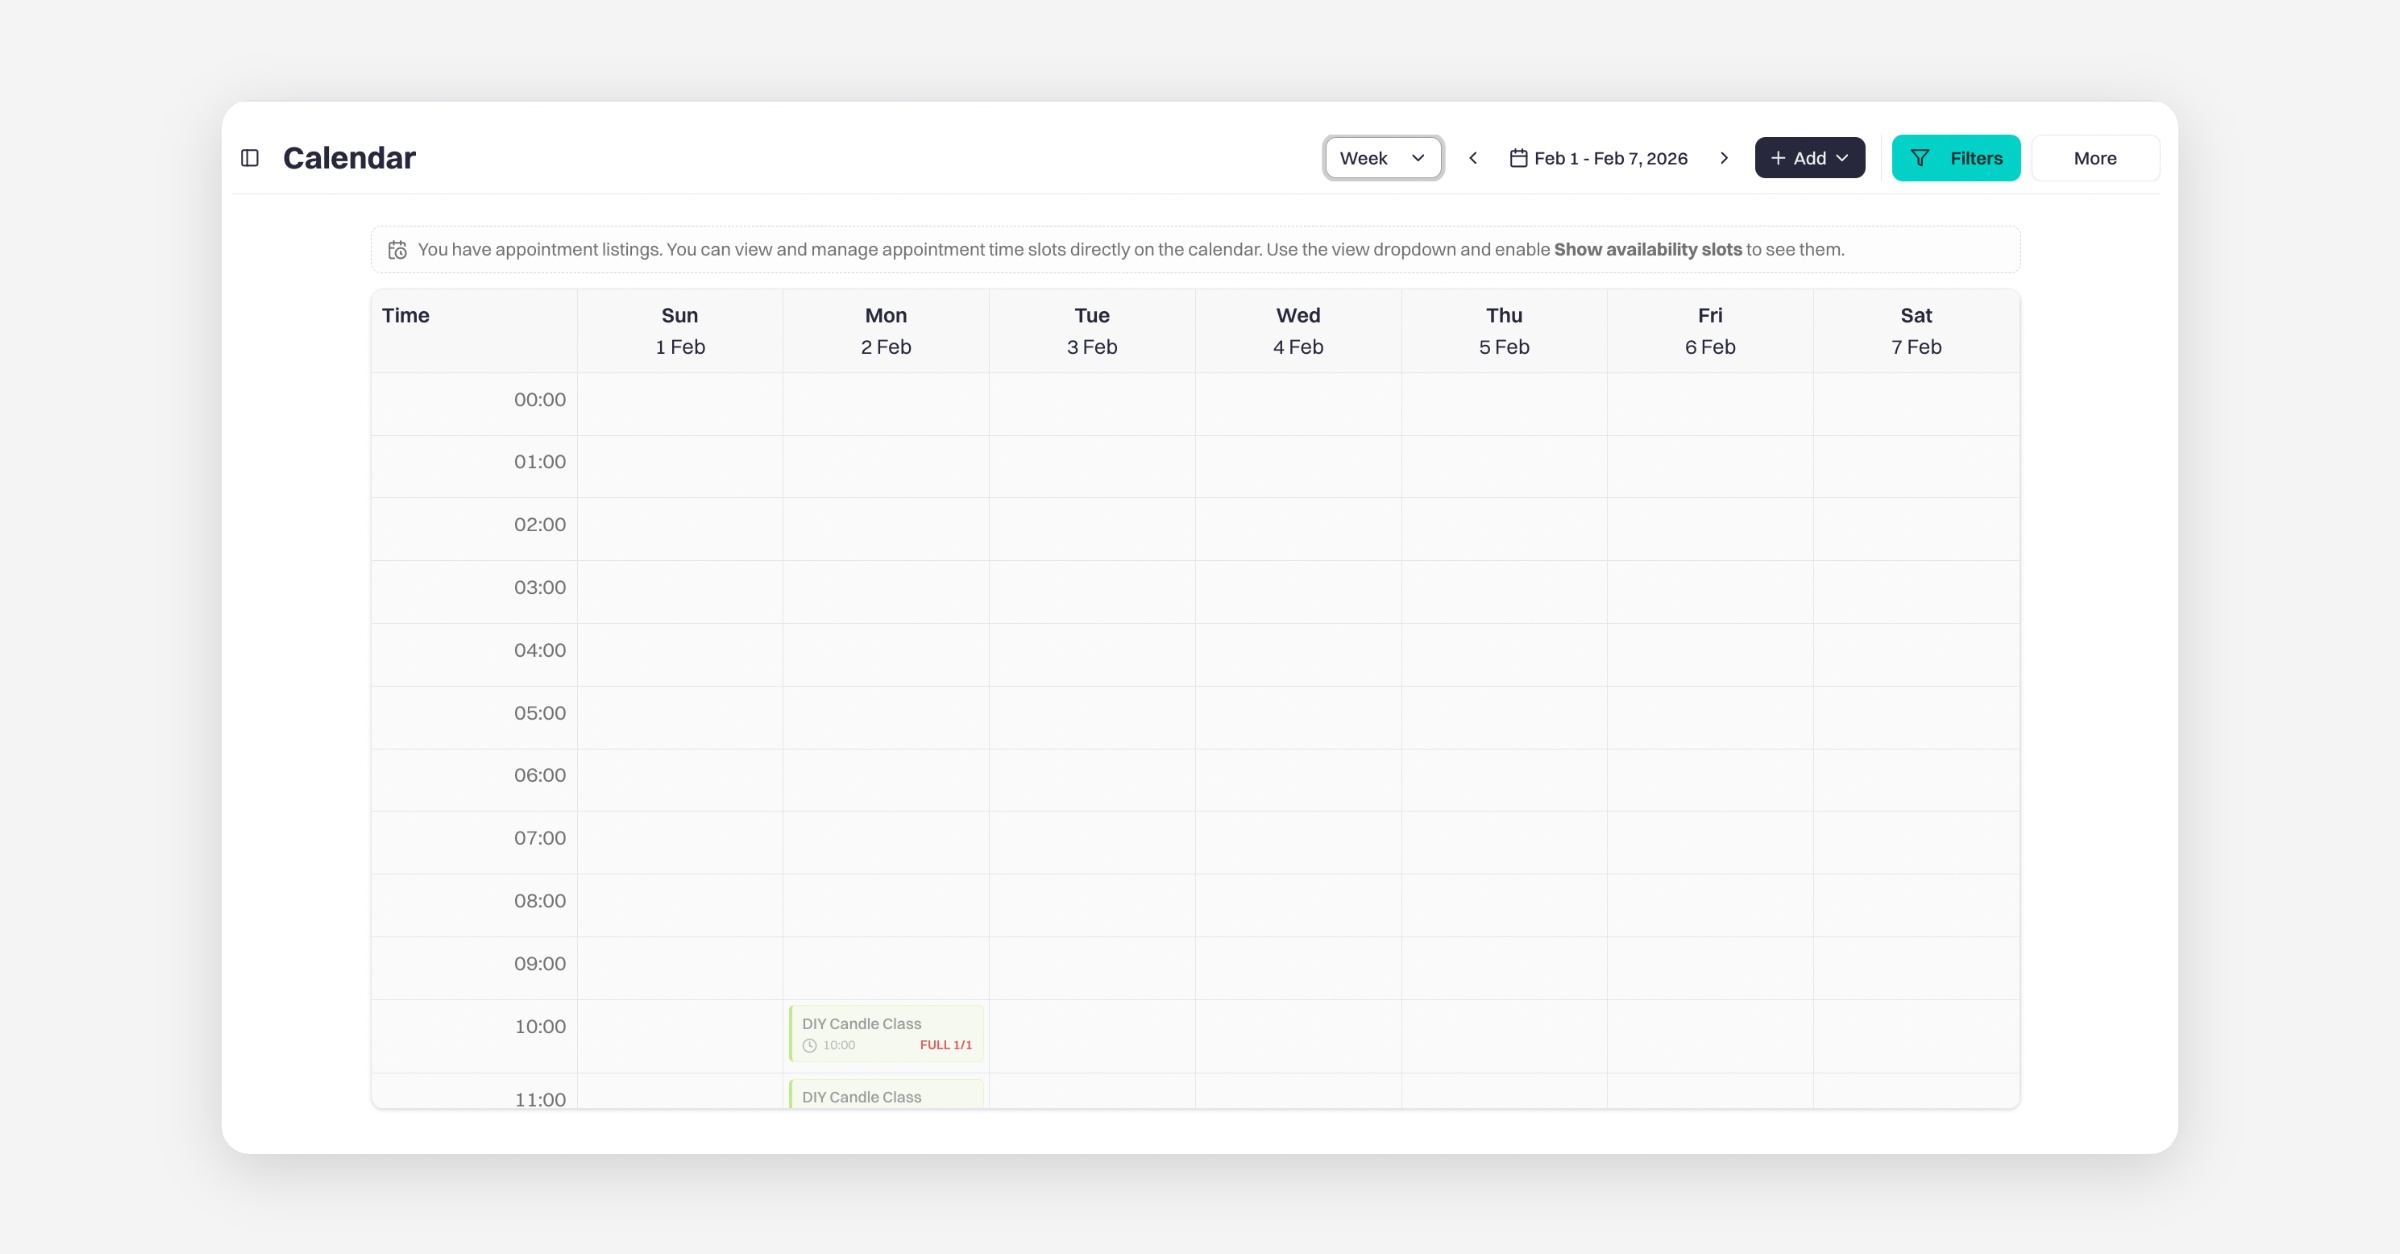
Best for weekly scheduling.
Month View
Month View provides a full monthly overview in a traditional calendar layout.
You can:
See all sessions scheduled throughout the month
Quickly identify busy days
Click on a date to view more details
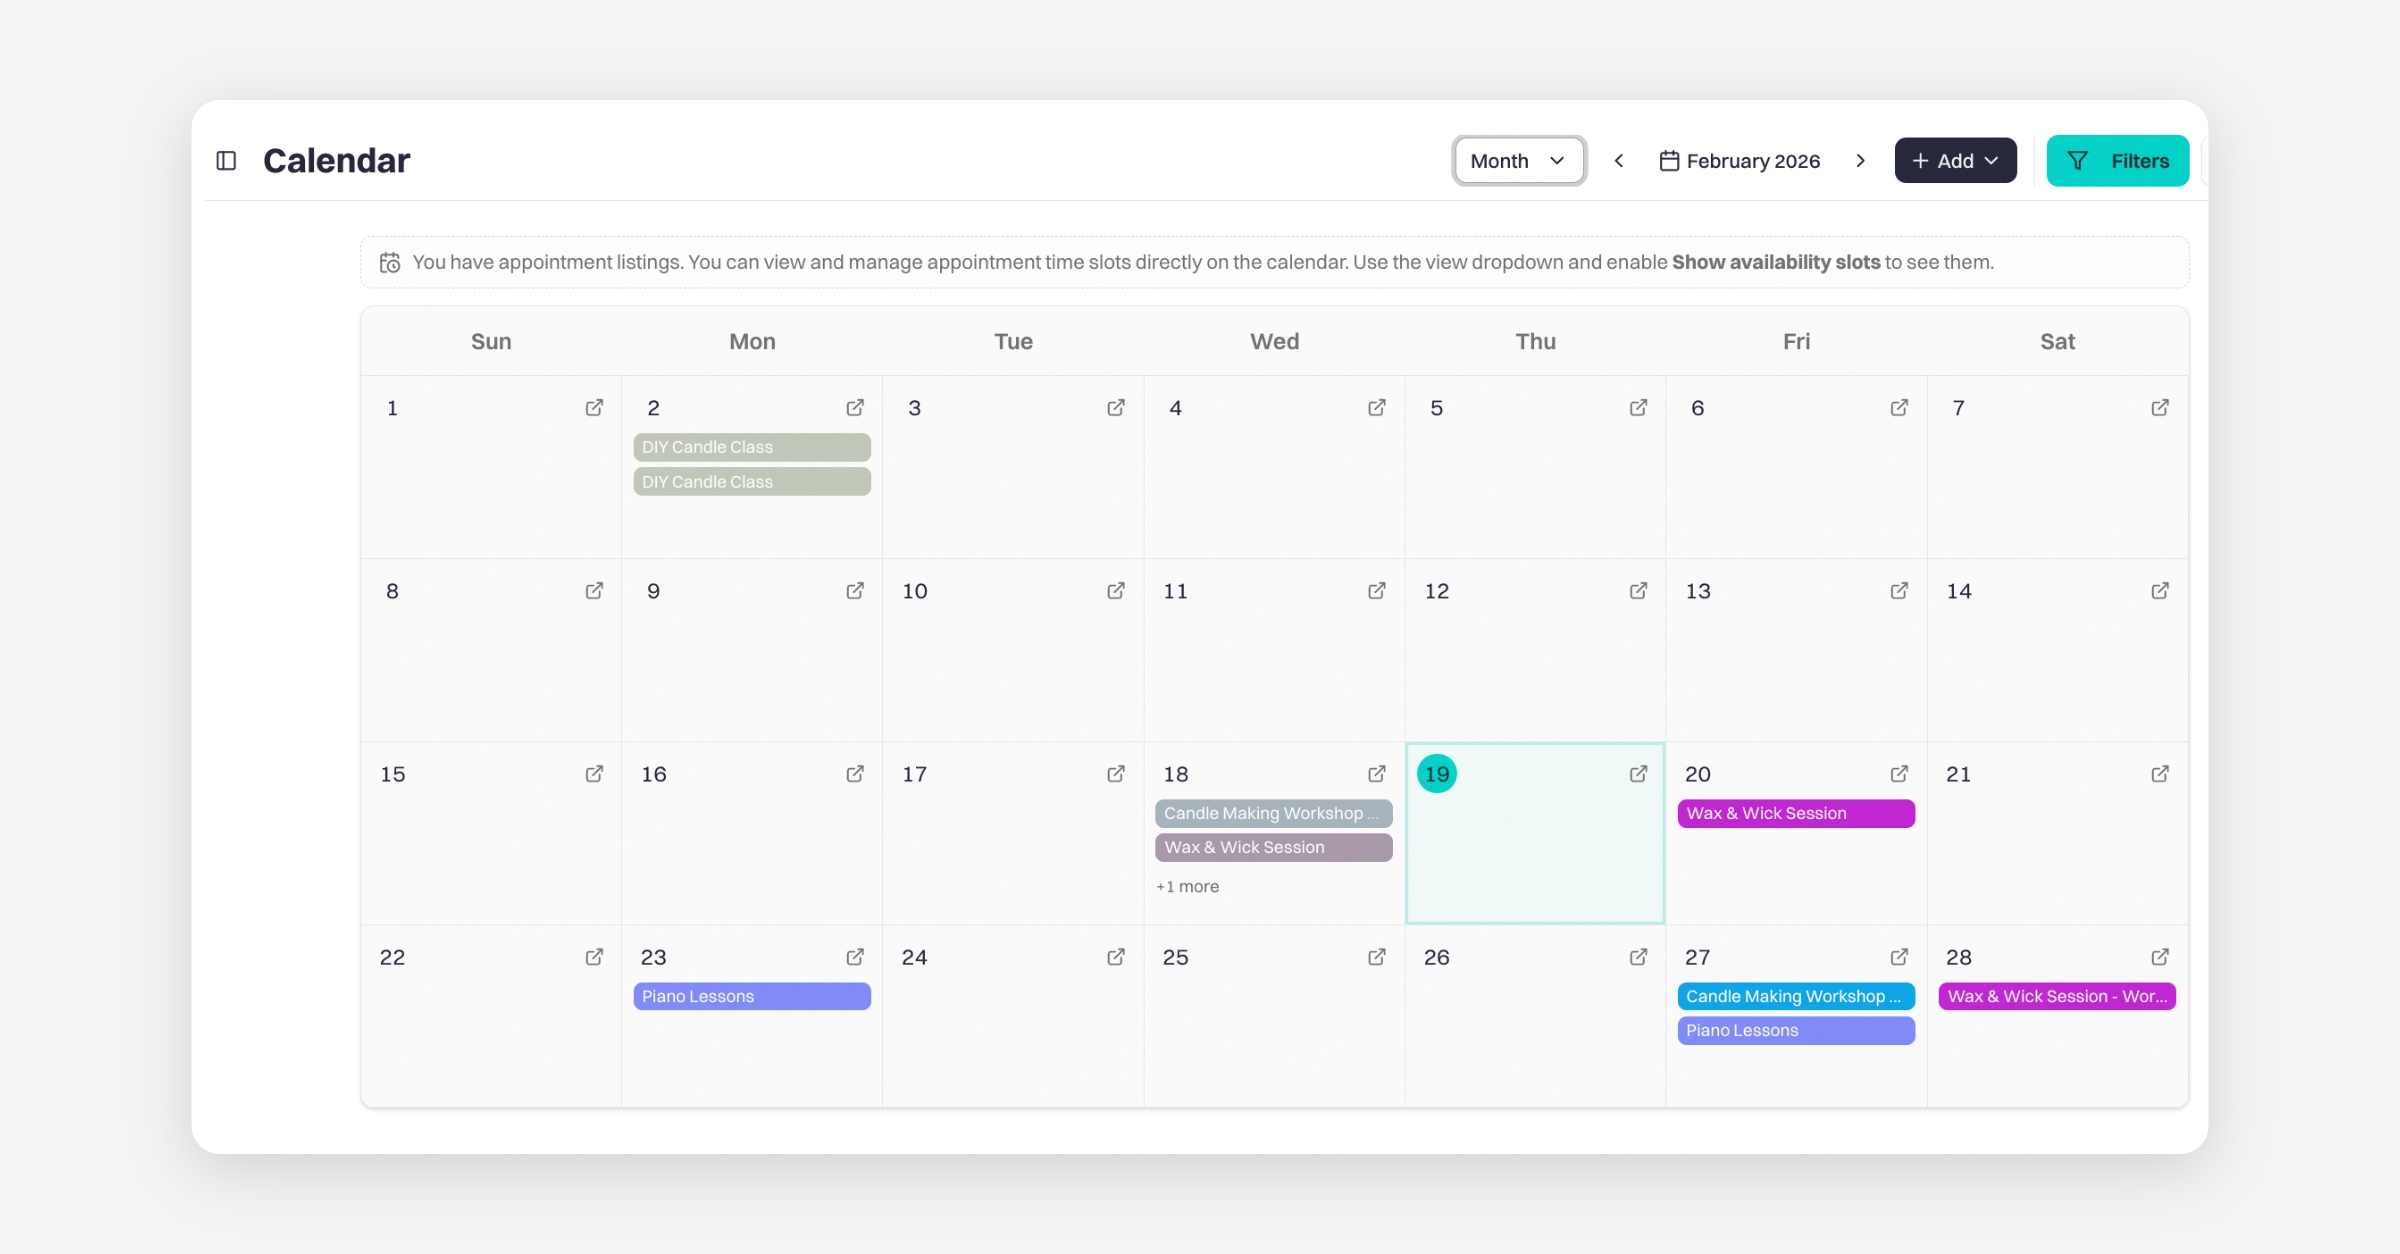
Ideal for long-term planning.
Customising Your Calendar Settings
In the calendar, click More and then select Settings to open the Calendar Settings menu.
From here, you can:
Customise colours for each listing using the Colors tab, making it easier to distinguish between different classes, events, or appointments on your calendar.
Choose which information appears on session cards in the Display tab, including:
Location
Tutor or instructor name
Availability (remaining spaces)
Status badges such as cancelled sessions or early access events
Enable or disable availability slots in calendar views.
Turn on expandable rows to view session details in a pop-up window instead of navigating away from the calendar.
Set different display preferences for mobile devices.
Choose where your settings are stored in the Storage tab:
Save locally to keep settings on your current browser only.
Sync to business to share settings across your business account and with team members.
Load settings from business to replace your local settings with the shared business settings.
Filters
You can use the Filters button at the top of your Calendar to narrow down what you see.
For example, you can filter by:
Specific listings
Location
Instructor
Session types
Date ranges
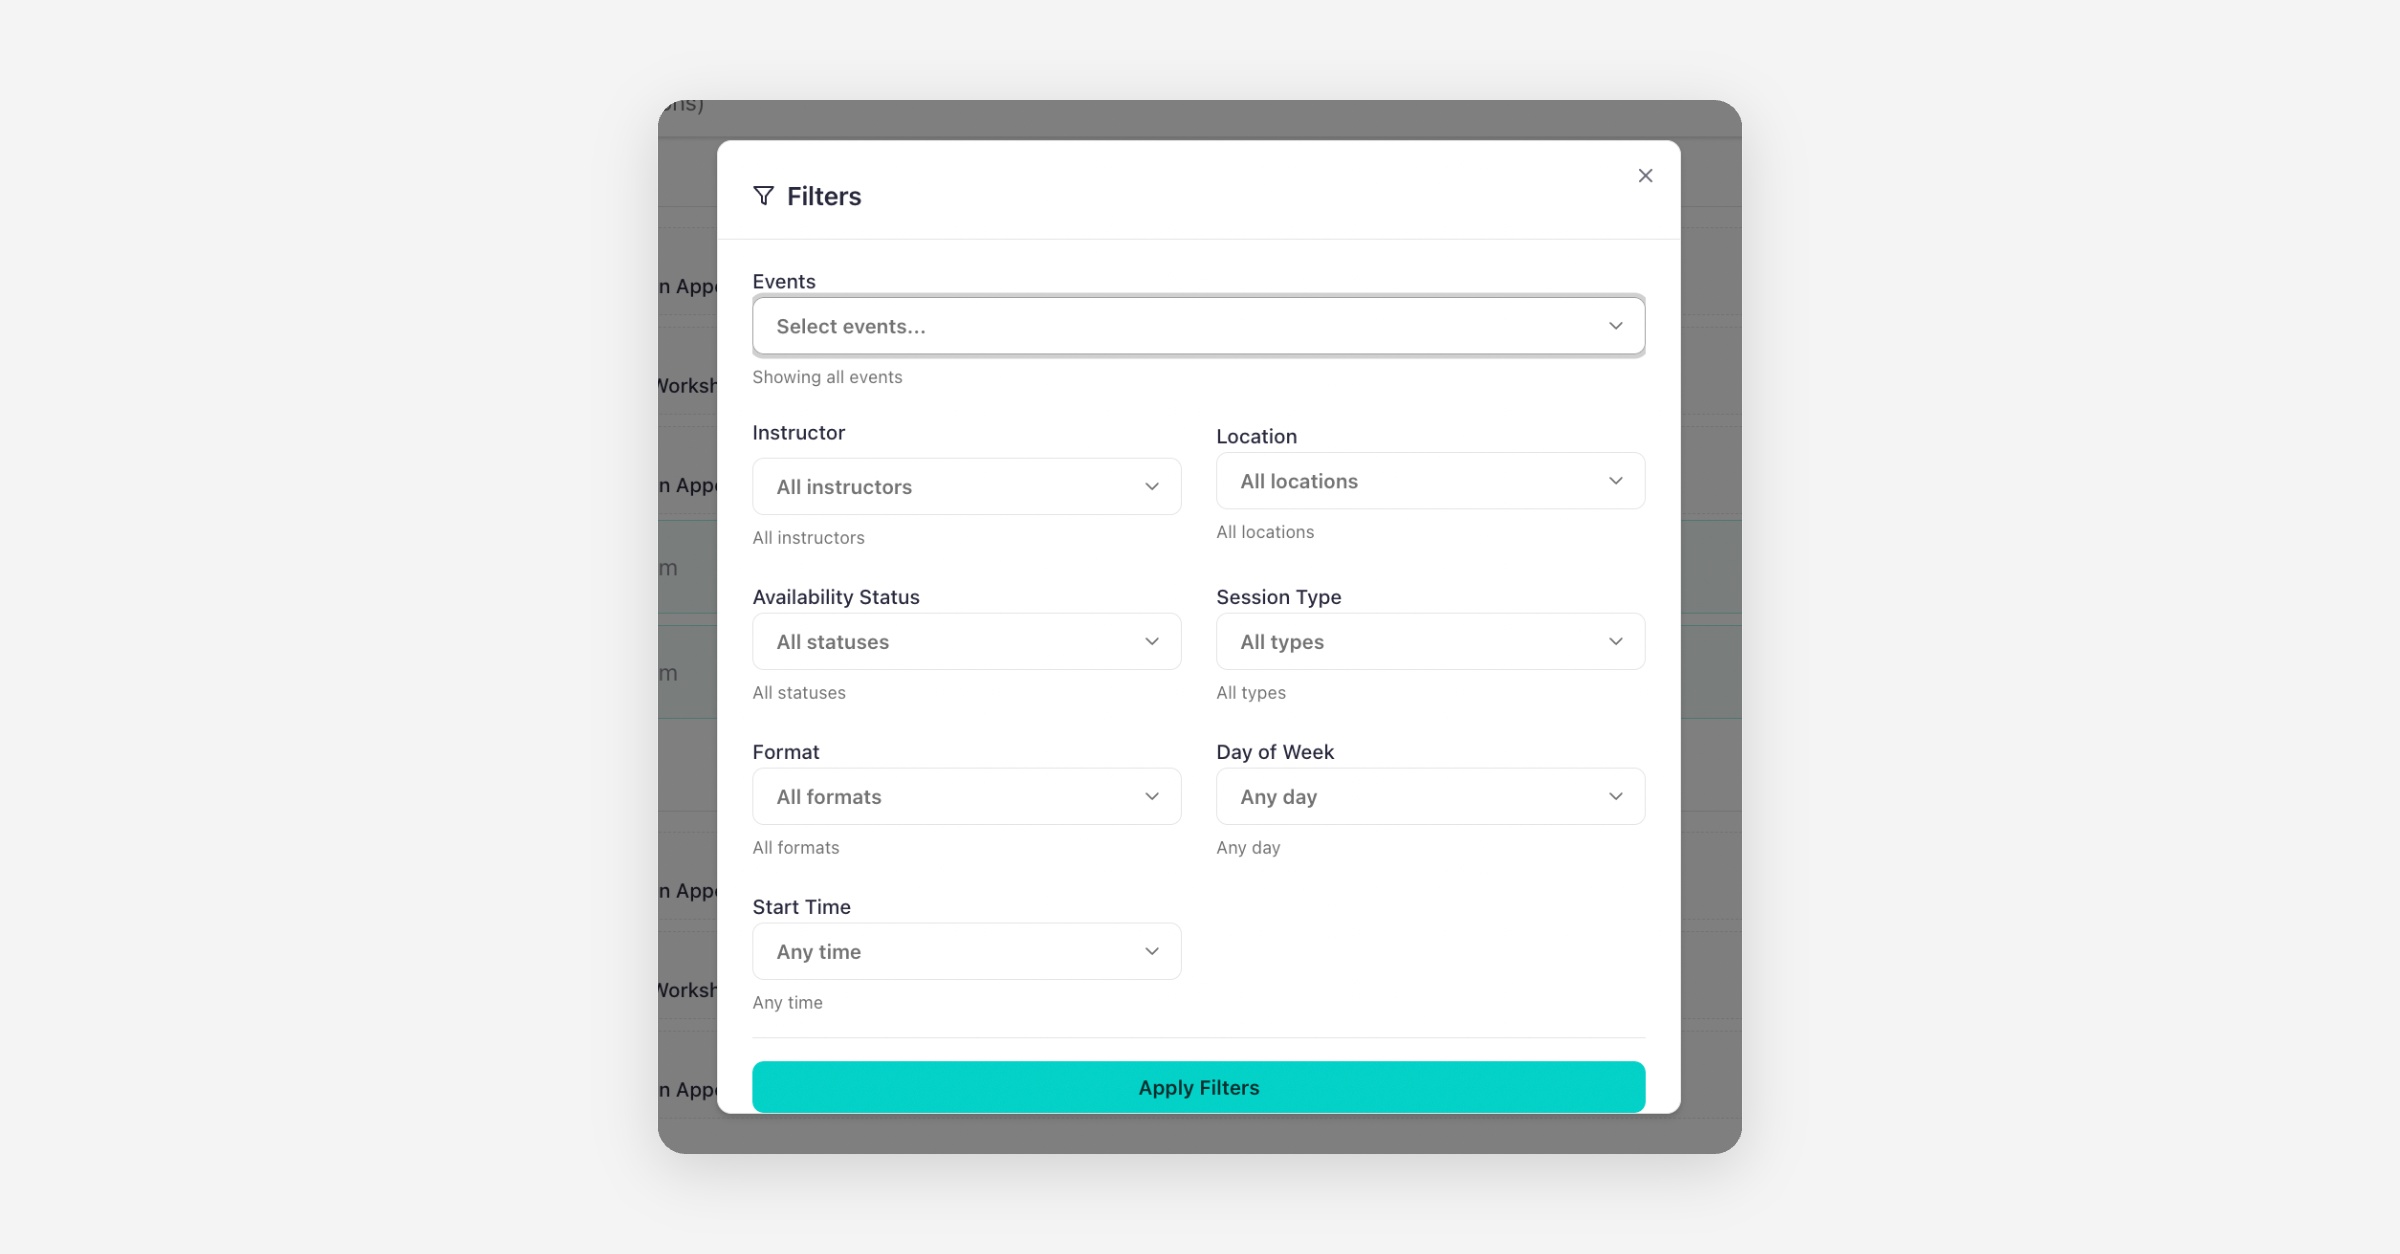
This helps you focus only on the sessions you need to manage.
Add Sessions, Bookings or Time Off
From your Calendar, you can quickly:
Add a new session
Create a manual booking
Block out time off
Simply click the + Add button at the top of the page.
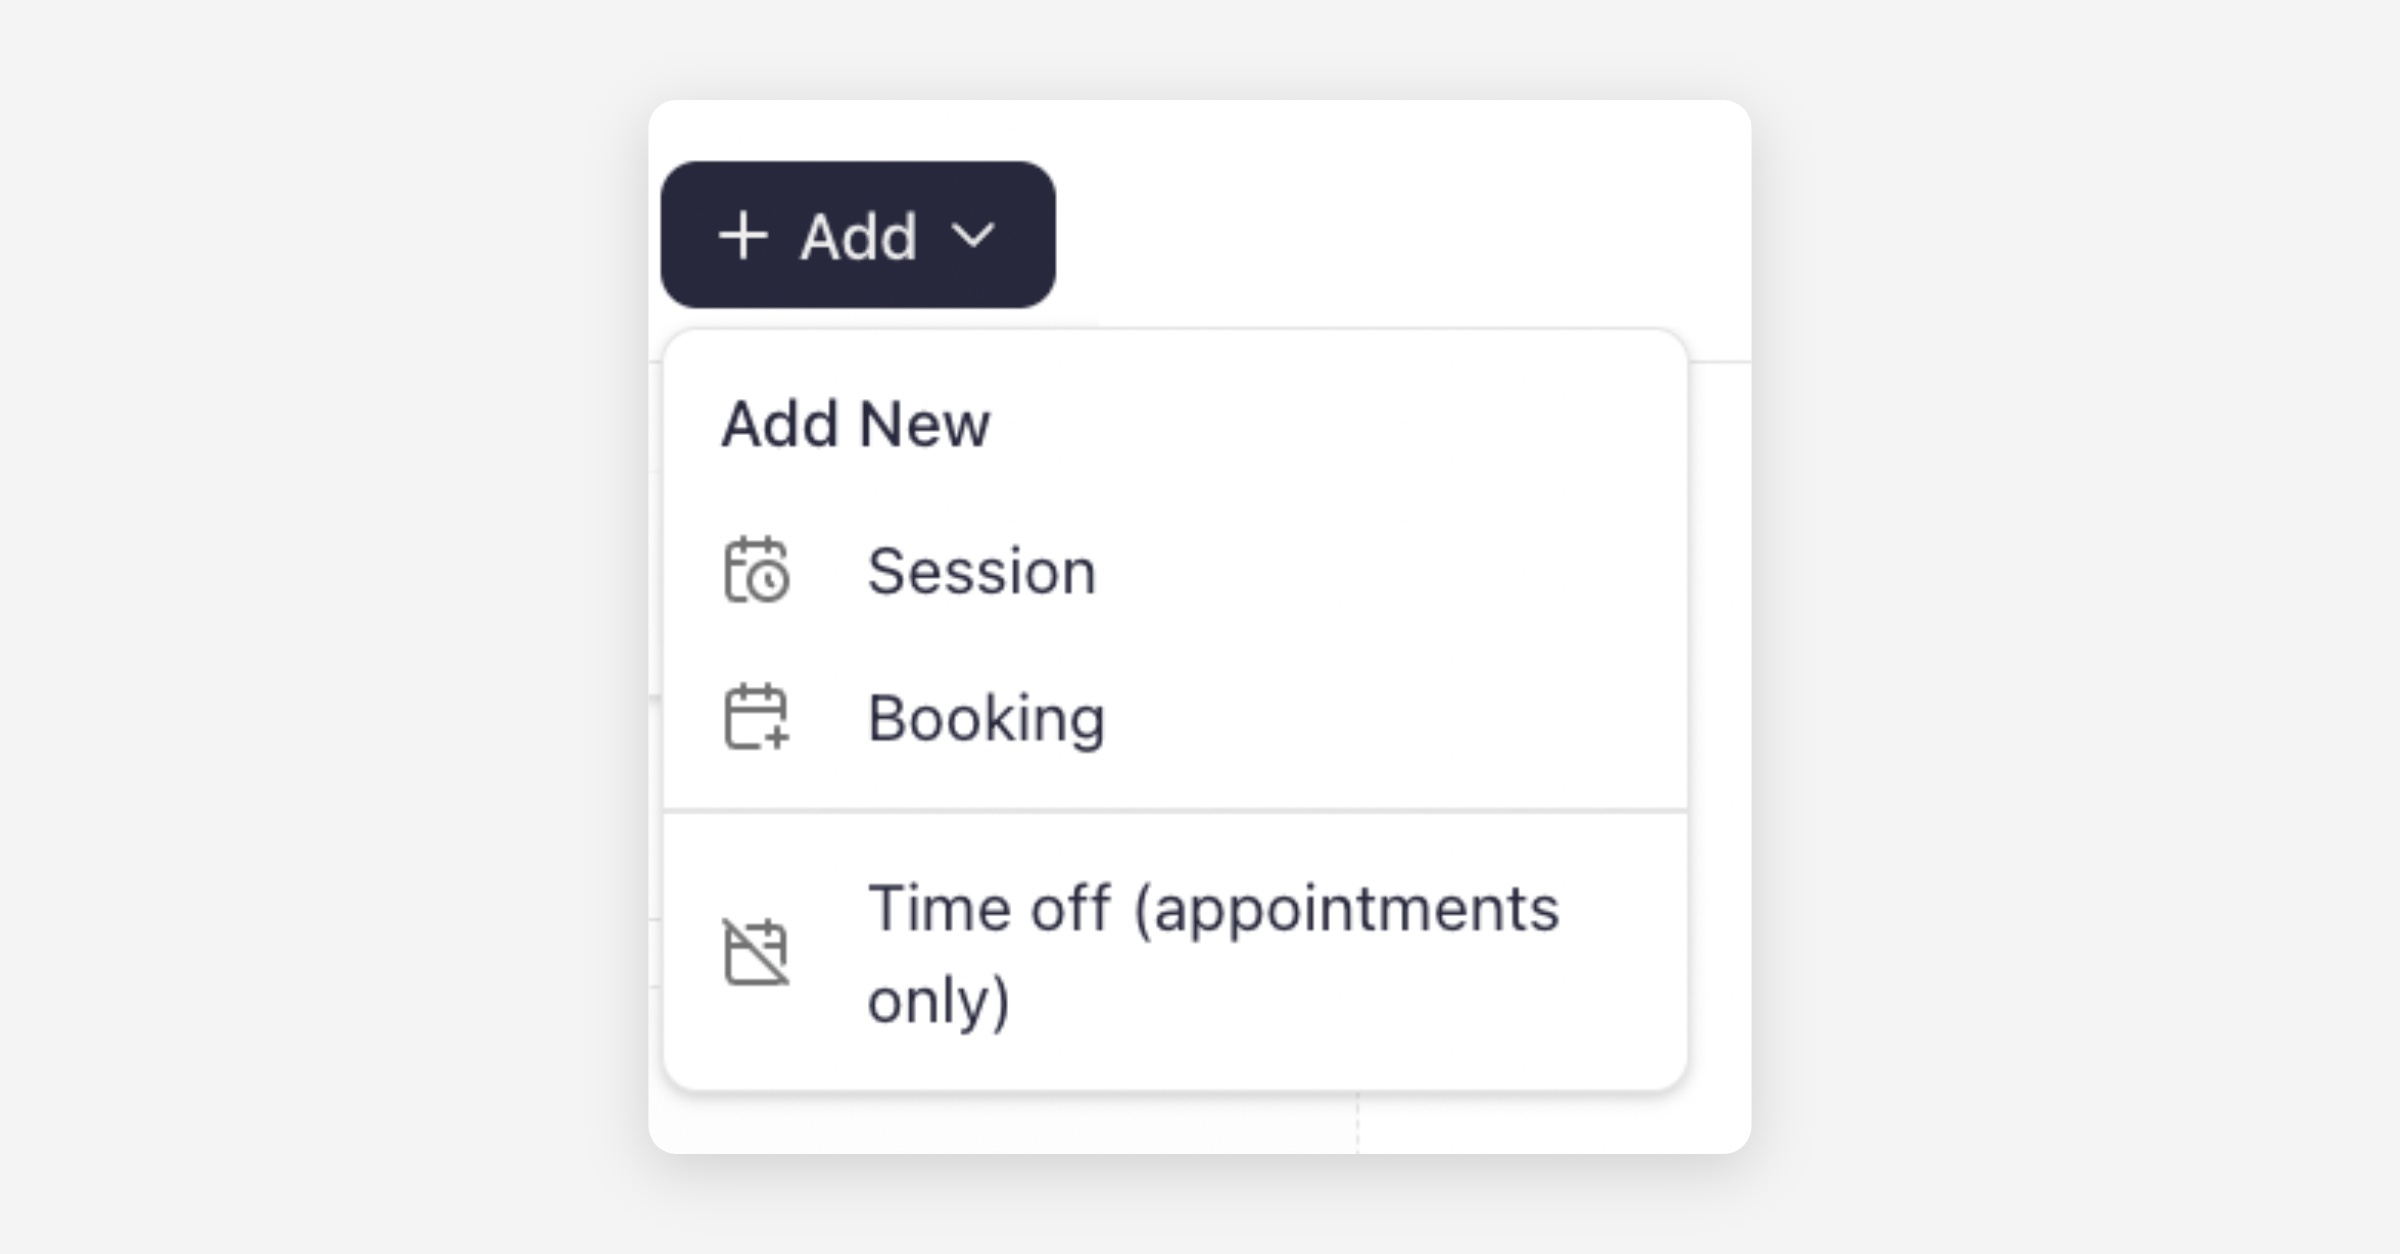
This allows you to manage your schedule directly from the Calendar without navigating elsewhere.
Managing Sessions
From any calendar view, you can:
View all of your sessions and appointments in a single place.
See session details, including the session time, location, and booking status.
Quickly identify availability and remaining spaces directly from the calendar cards.
Select individual sessions or multiple sessions for bulk management.
Bulk Actions
In Schedule View, you can select multiple sessions and use the Bulk Actions menu to manage them all at once.
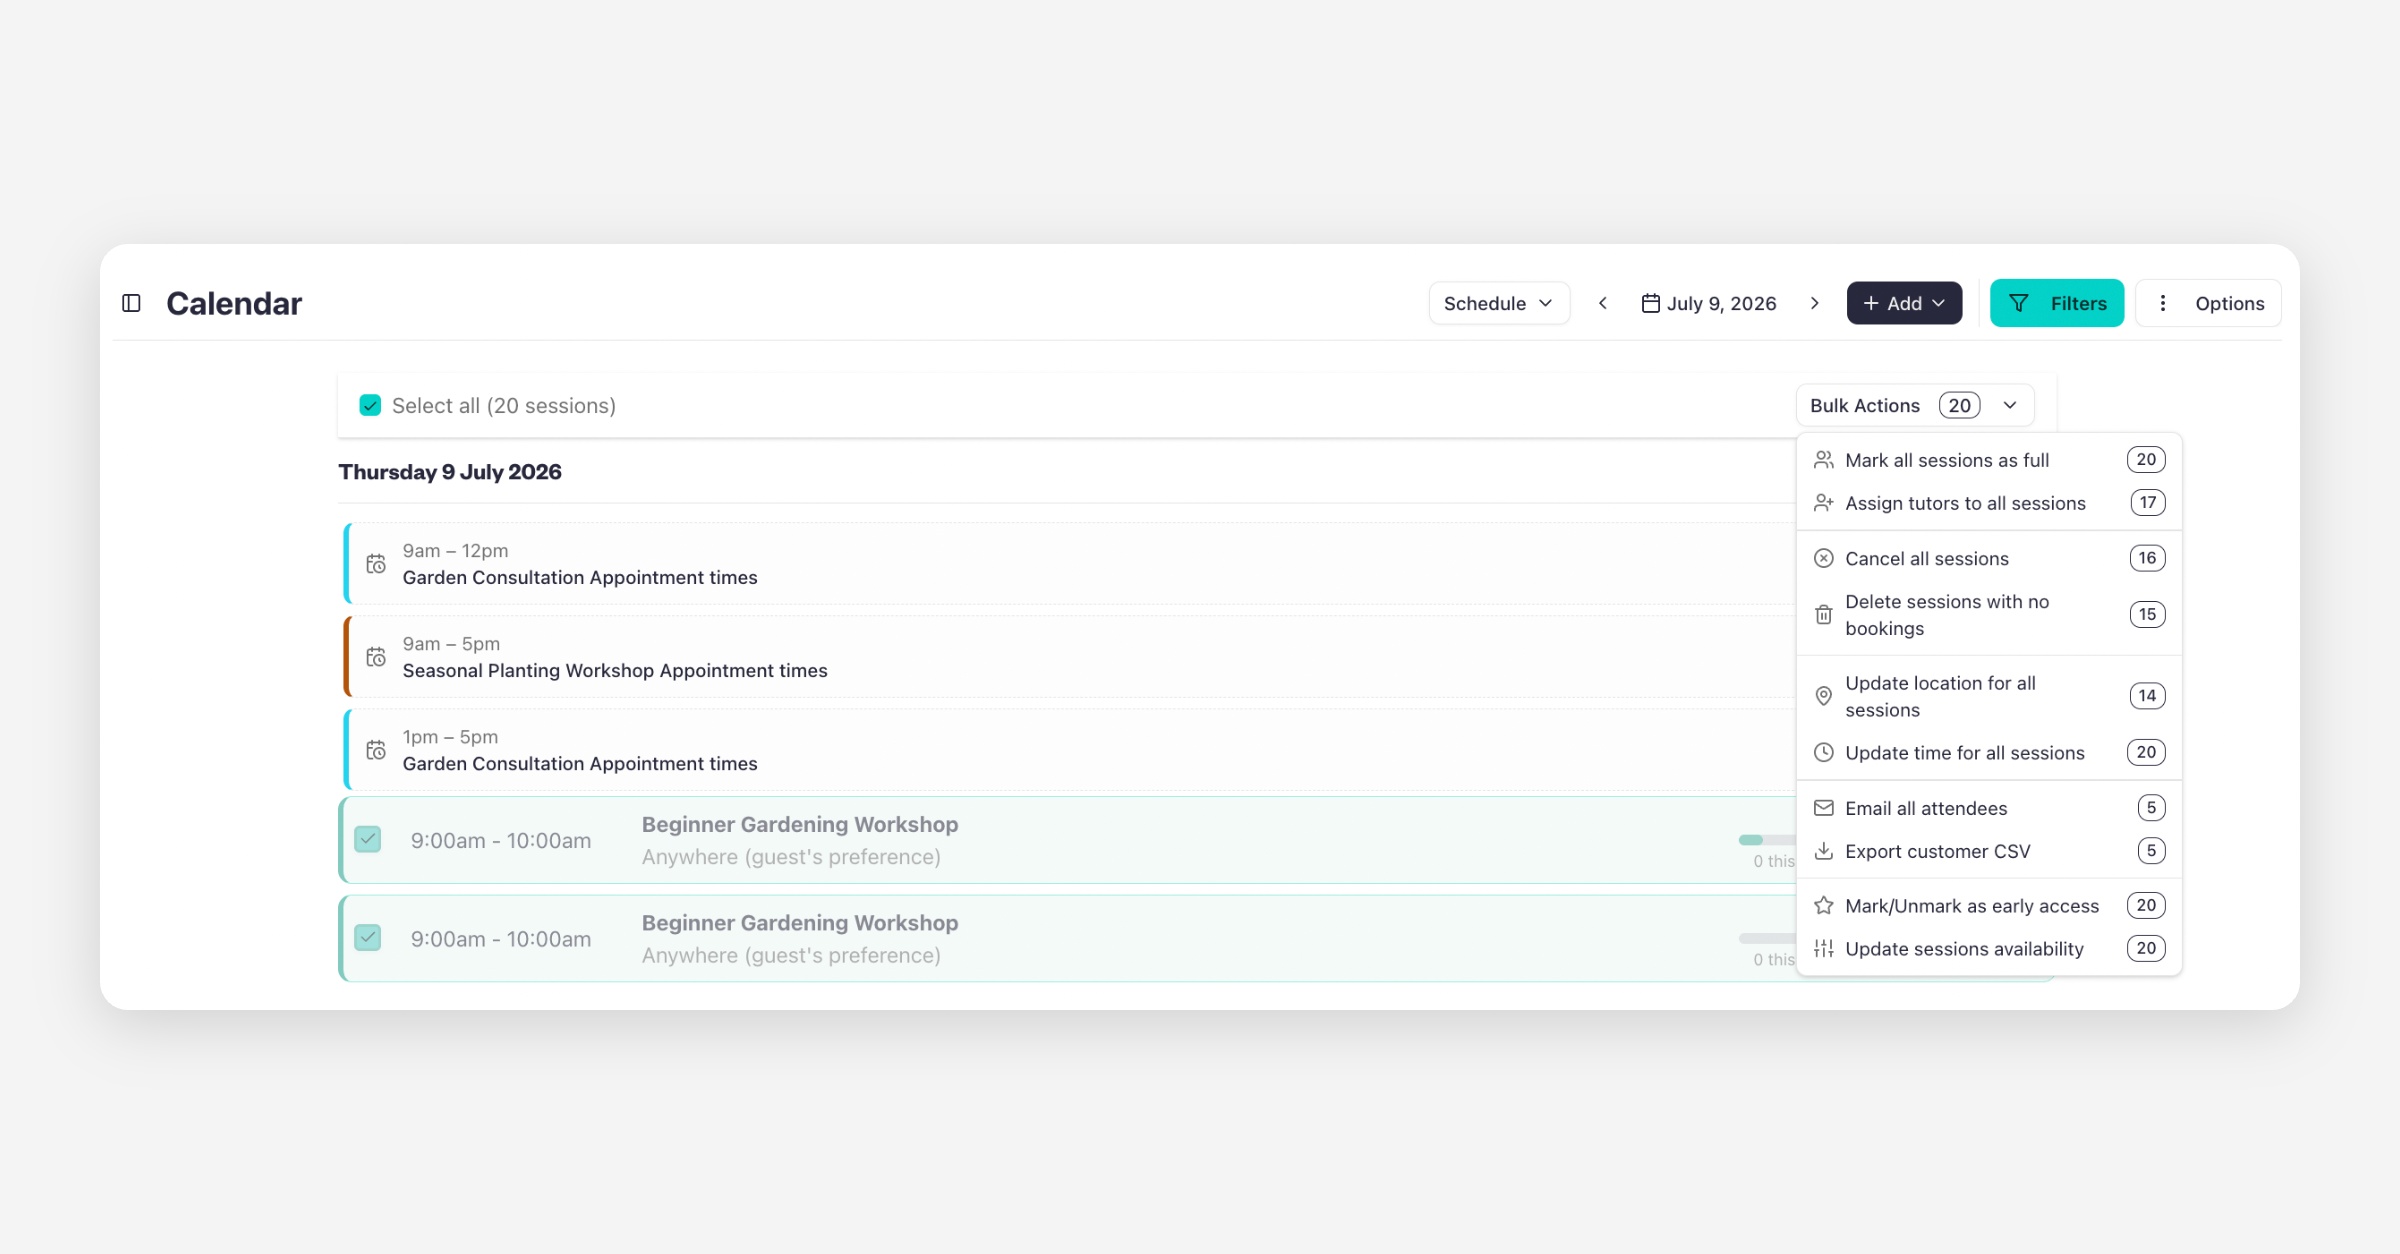
Available bulk actions include:
Mark all selected sessions as full.
Assign tutors or instructors to multiple sessions.
Cancel sessions in bulk.
Delete sessions that have no bookings.
Update the location for multiple sessions.
Change the time for multiple sessions.
Email all attendees for selected sessions.
Export customer information as a CSV file.
Mark or unmark sessions as Early Access.
Update availability across multiple sessions simultaneously.
This makes it easy to manage large numbers of sessions directly from the calendar without editing each one individually.
Was this helpful?